Stampin’up!’s Abundant Beauty Decorative Masks Simple Card
Hello Crafters, Bonjour!
Happy Friday! Do you have big plans for the weekend? My husband Chris is on his zillion golf game tomorrow so I’m planning a stamp day, me day. He is also very excited about Football Sunday. I’m hosting my In Color Class in person and virtually. We are having a pot luck too, so everyone is bringing a dish. If you would like to join us, simply message me. I love those kind of stamping days. I will be featuring the Copper Clay In Color which is perfect for fall.
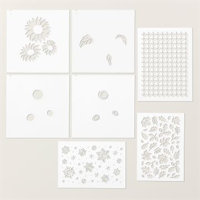
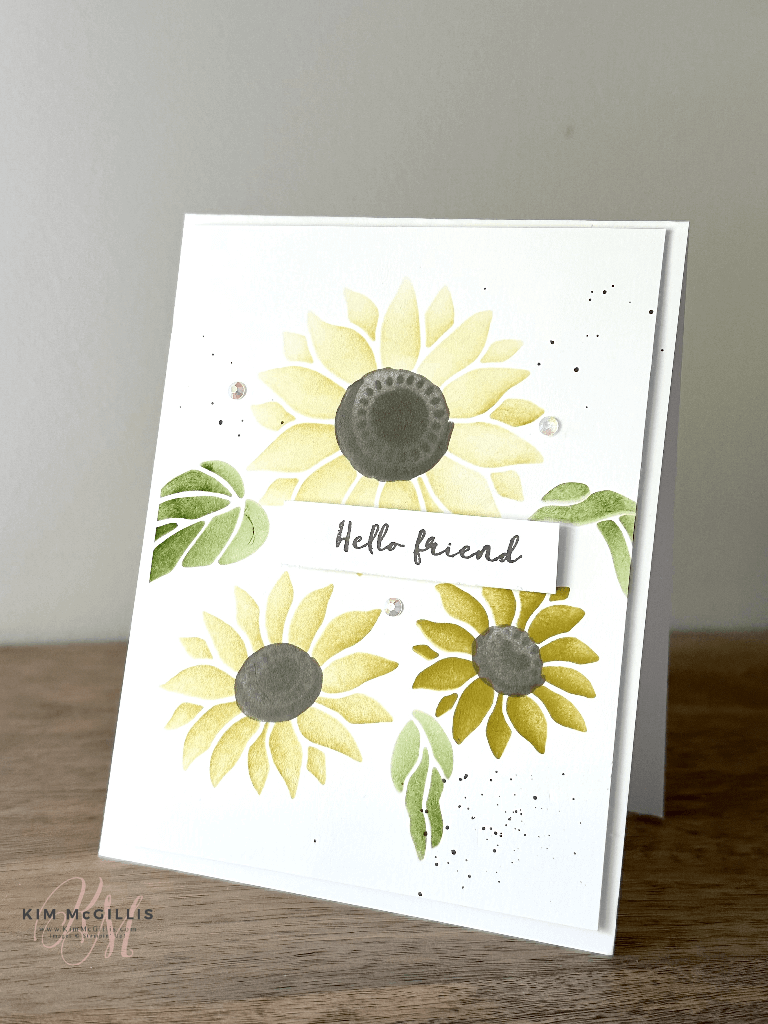
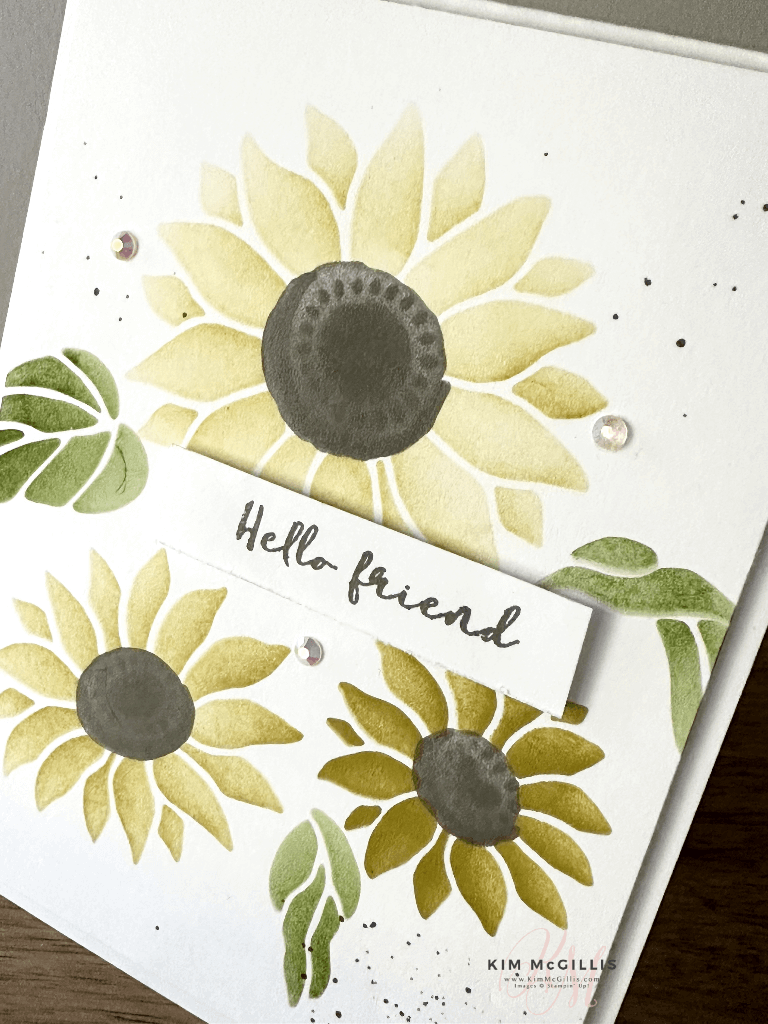
I have a great project to share with you today. It’s fun, simple, quick and easy. On page 47 of Stampin’up!’s New Mini Catalogue is the Abundant Beauty Decorative Masks. The package includes 7 masks. They are perfect to create textured backgrounds, use with Embossing Paste and Palette Knives or with Classic Stampin’Ink. I’m sharing a simple card that you can duplicate using your favorite ink pad color and the blending brushes.
PS The Abundant Beauty Decorative Masks are low inventory!!!! Get your hands on them asap before they are on backorder.
Color Combination Used:
Products Needed To Make This Card:
- Basic White Cardstock
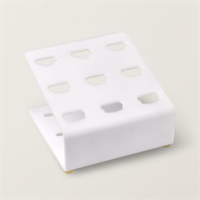
- Abundant Beauty Decorative Masks
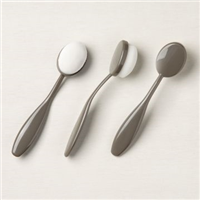
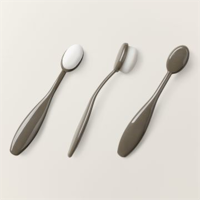
- Blending Brushes (any size will do)
- Classic Stampin’Ink
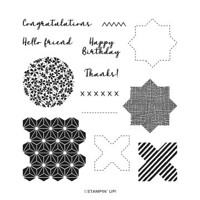
- Stamp with a greeting
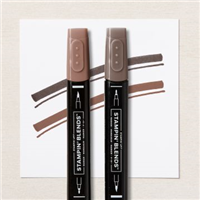
- Stampin’Blends
- Embellishment of your choice
- Cut a 4 1/4″ x 11″ piece of Basic White Cardstock and Score at 5 1/2″
- Cut a 4″ x 5 1/4″ piece of Basic White Cardstock
Mask #1:
- Add the Abundant Beauty Decorative Mask that has the Number 1 on it to the 4″ x 5 1/4″ piece of Basic White Cardstock
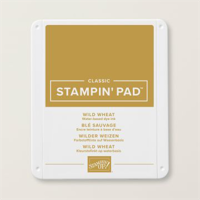
- Use the Blending Brush, any size and add the Wild Wheat Ink to it
- Start on a piece of scrap paper to remove excessive ink
- Then blend the ink onto the mask
- Add as much ink until the desired shade of Wild Wheat Color
- Remove the Abundant Beauty Decorative Mask that has the Number 1
Mask #2:
- Add the Abundant Beauty Decorative Mask that has the Number 2
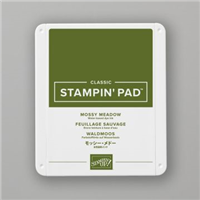
- Use the Blending Brush, any size and add the Mossy Meadow Ink to it
- Start on a piece of scrap paper to remove excessive ink
- Then blend the ink onto the mask
- Add as much ink until the desired shade of Mossy Color
- Remove the Abundant Beauty Decorative Mask that has the Number 2
Mask #3:
- Add the Abundant Beauty Decorative Mask that has the Number 3
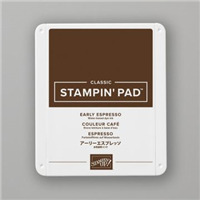
- Use the Blending Brush, any size and add the Early Espresso Ink to it
- Start on a piece of scrap paper to remove excessive ink
- Then blend the ink onto the mask
- Add as much ink until the desired shade of Early Espresso Color
- Remove the Abundant Beauty Decorative Mask that has the Number 3
Mask #4:
- Add the Abundant Beauty Decorative Mask that has the Number 4
- Use the Blending Brush, any size and add the Early Espresso Ink to it
- Start on a piece of scrap paper to remove excessive ink
- Then blend the ink onto the mask
- Add as much ink until the desired shade of Early Espresso Color
- Remove the Abundant Beauty Decorative Mask that has the Number 4
Assemble and Embellish:
- Adhere the masked piece of basic White Cardstock using Stampin’ Dimensionals onto your Card Base
- Add specs of ink from the Stampin’Blends in Deep Color by simply taping on the base of the blend
- Stamp a greeting in Early Espresso Ink from the Medley Mix Stamp Set onto a piece of scrap Basic White Cardstock
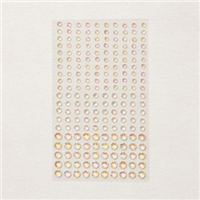
- Embellish with Iridescent Rhinestones Basic Jewels or any other embellishment you have on hand
GIVEWAY FROM ME: week of September 4th to September 10th (shipping packages on September 11th)
- Place a 60$ order on My Online Store or with me and receive a FREE Embellishment Pack as a gift!
- Use the September 4th to September 10th SHOP CODE, and receive in the mail the cardstock to recreate 5 cards with all the different in colors. (See Image below.)
- Bonus: Get the pieces to make today’s card too.
***ADD ON SHOPPING OPTION***
You can Order Abundant Beauty Decorative Masks as an ADD ON CLICK HERE
as well as the Medley Mix Stamp Set CLICK HERE
Full List of products used are listed below. Get your order in today!!!
I can’t wait to share more projects featuring the Abundant Beauty Decorative Masks. Have a great weekend.
Hugs, Kim xo


