Butterflies and Flowers

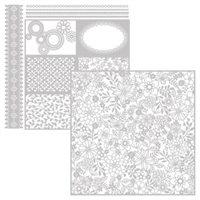
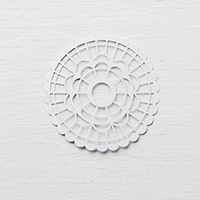
It was so fun to create for Stampin’up!’ s Corporate Blog Post. If you didn’t see my post on Stampin’up!’s Facebook Page then you can see it here today:) It’s the most wonderful Stampin’up! time of the year! The month of June is a very exciting time, as we get to order from the new Annual Catalogue. There are so many perks to join Stampin’up! as a demonstrator. One of them is the opportunity to view the new catalogue before the release date and order a selective collection of new items. There is nothing more heartwarming than receiving a hand copy of the new annual catalogue. As part of the preorder, I chose to blend two collections together and showcase them for you today. The Delightfully Detailed Suite has gorgeous detailed laser-cut images paired with watercolour wash designs and the Garden Impressions Suite creates glorious gardens with images inspired by Impressionist art. The Delightfully Detailed Laser-Cut Specialty Paper(item 146907) was used in 3 different ways today:

For my first card:
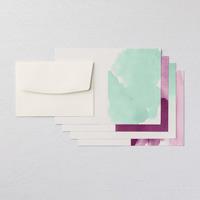
- Start with the Delightfully Detailed Note Cards & Envelopes (item 146911).
- Use one note card as card base
- Layer one of the Delightfully Detailed Laser-Cut Specialy Paper
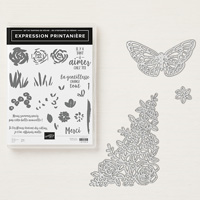
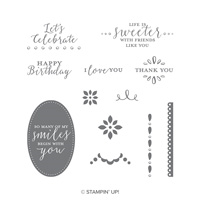
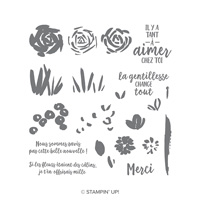
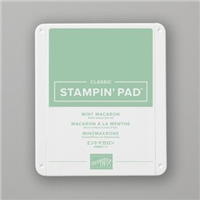
- Stamp the sentiment from the Detailed with Love Stamp Set(item 146606) using Mint Macaron Ink item 147106)
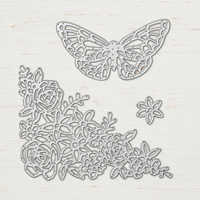
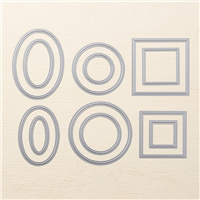
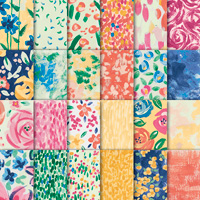
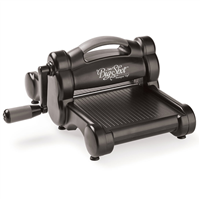
- Die cut with a Big Shot (item 143263) and a circle die from the Stitched Shapes Framelits (item 145372) in Soft Sea Foam Cardstock (item 146988), as well as the butterfly from the Springtime Impressions Thinlits Dies(item 146326) using the Garden Impressions 6”x6” Designer Series Paper(item 146289)
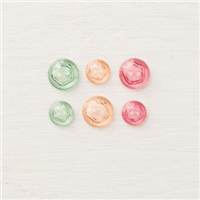
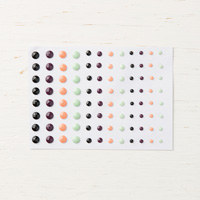
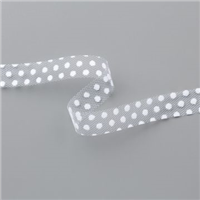
- Embellish the card with the Tinted Faceted Buttons(item 146349), the Faceted Dots(item 146910) and the 5/8” White Polka Dots Tulle Ribbon(item 146912).
This card is perfect for beginners.

For my second card, I created a Shabby Chic look:
- Start with some Soft Sea Foam Cardstock as the base of my card
- On a piece of Very Vanilla Cardstock(item 101650), layer a piece of the Delightfully Detailed Laser-Cut Specialty Paper and use a Sponge Dauber (item 133773) to add Mint Macaron Ink creating a masking technique to the cardstock
- Add the used piece of Delightfully Detailed Laser-Cut Specialty Paper as the background of the card base
- Layer a piece of Garden Impressions Designer Series Paper on top
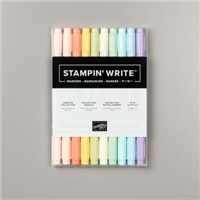
- Colour the backside of a Pearlized Doily (item 146936) using the Mint Macaron Stampin’Write Marker from the Subtles Collection(item 147156)
- Adhere the Pearlized Doily behind a circle from the Stitched Shapes Framelits, cut out in Petal Pink Cardstock(item 146985)
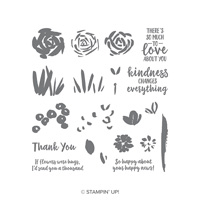
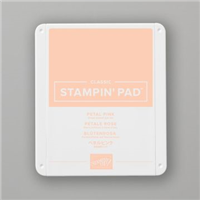
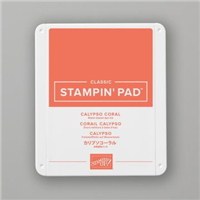
- Embellish the circle with a rose from the Abstract Impressions Stamp Set(item 147513) using Petal Pink Ink(item 147108) and Calypso Coral Ink(item 147101)
- Fussy cut the rose with Paper Snips (item 103579)
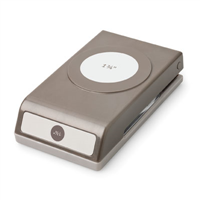
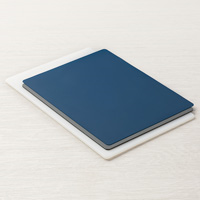
- Using the Big Shot Embossing Mats(item 146327), emboss a rose pattern from the Springtime Impressions Thinlits Dies(item 146326) onto Calypso Coral Cardstock from the Garden Impressions Cardstock Pack(item 146325) and punch a circle using the 1 ¾ Circle Punch(item 119850)
- Add floral pieces from the Springtime Impressions Thinlits Dies in Petal Pink Cardstock and colored some floral images from the Delightfully Detailed Laser-Cut Specialty Paper with the Mint Macaron Stampin’Write Marker
- Stamp the sentiment from the Detailed with Love Stamp Set with Petal Pink and Calypso Coral ink onto their coordinating cardstock
- Add the Faceted Dots and the 5/8” White Polka Dots Tulle Ribbon as embellishments
This card is perfect for the Avid stampers.

To coordinate with the Shabby Chic card, I also decorated a Very Vanilla Medium Envelope (item 107300):
- Use the Garden Impressions 6”x6” Designer Series Paper
- Die cut in the same designer series paper, a butterfly using the Springtime Impressions Thinlits Dies
- Embellish the card with the 5/8” White Polka Dots Tulle Ribbon and the Tinted Faceted Buttons
- Add a sentiment from the Detailed with Love Stamp Set and stamp onto Petal Pink Cardstock and using coordinating ink

For my third card, I created a trifold:
- start with a piece of Soft Sea Foam Cardstock
- Cut a second piece in the same color and layered it on top of my card base
- Cut out a square from the two pieces using the Stampin’Trimmer(item 126889) to create an open square border.
- Sandwich a piece of Delightfully Detailed Laser-Cut Specialty Paper between the two pieces of Soft Sea Foam Cardstock
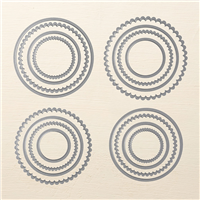
- Die cut a circle with a Big Shot and a circle die from the Layering Circles Framelits(item 141705) in the center of the Delightfully Detailed Laser-Cut Specialty Paper
- Cut three rings in Soft Sea Foam Cardstock using the Layering Circles Framelits and adhered them together
- Embellish the inside of the card using the Garden Impressions 6”x6” Designer Series Paper, pieces of Delightfully Detailed Laser-Cut Specialty Paper, add a butterfly and a flower from the Springtime Impressions Thinlits Dies in Petal Pink and Calypso Coral Cardstock
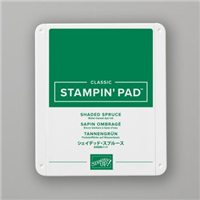
- Stamp the sentiment from the Abstract Impressions Stamp Set in Shaded Spruce Ink (item 147088) onto a die cut Soft Sea Foam circle from the Layering Circles Framelits
- Add Faceted Dots as embellishments


Color combination used:
I hope you have a copy of Stampin’up!’s new Annual Catalogue. If you don’t, get your copy from me today. You will be inspired in so many ways. I especially love the Delightfully Detailed Suite and the Garden Impressions Suite. New products equal new creations.
“If nothing ever changed, there’d be no butterflies.”
If you live in Canada, I would love to be your demonstrator! Click on the supply list below to order these items. Use Hostess June Code D7VYS9V4 to receive perks from my VIP club. View all of the current promotions by clicking HERE. And if you are from another country, you can still take a glimpse of the products listed and shop with a demonstrator near you. Happy Stamping!
Hugs, Kim xo





Oh la la, Kim! Comme c’est beau! Plein de douceur, de couleur, on regarde ces cartes et on sent presque le parfum des fleurs…