The new eclipse technique
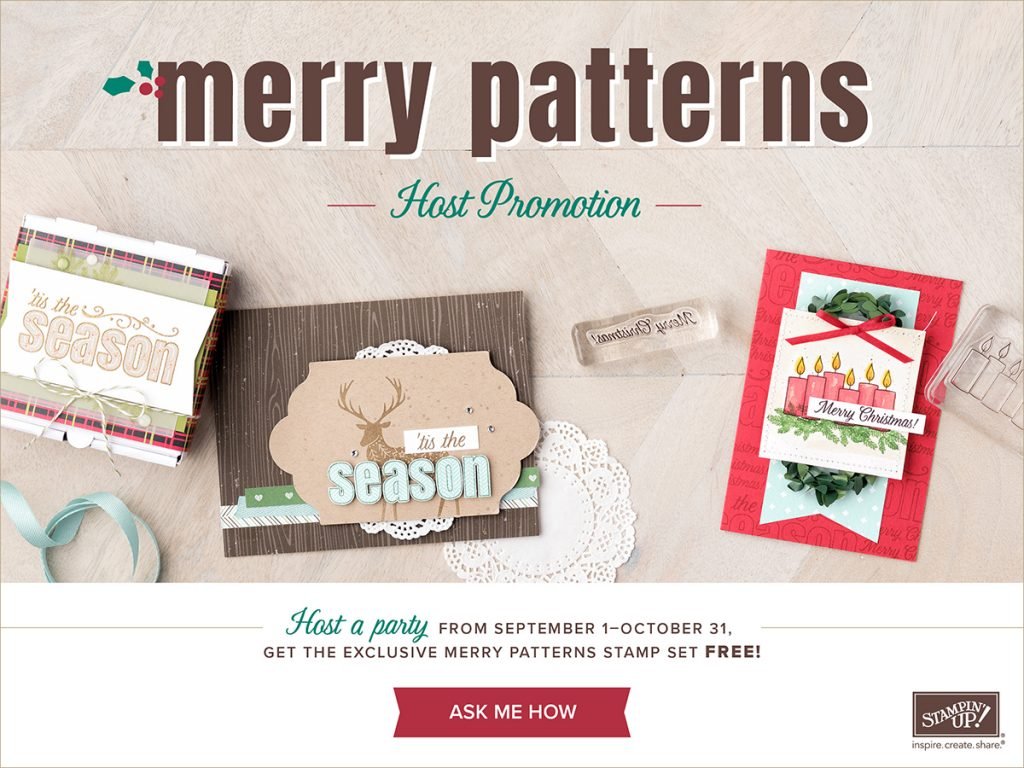
Have you seen the new creative trend lately? If you like to go on Pinterest, there are many samples for this new eclipse technique. I loved the look and decided to try it out myself. The demonstrators on my team that attended my monthly team meeting in September tried it as well. They loved it. I gave them a challenge to show me their versions and await their sample before we chose a winner!! The best card gets a prize!!! I’ll get my girls to pick out the winner since I’m sure the samples will all be amazing. I am blessed with such talented, sweet demonstrators on my team. Love to host those monthly meetings. I anticipate for that monthly date night with these girls. If you would like to try the eclipse technique you can host a party with me or follow the steps below. Here is a glimpse of the final product. I used the hostess merry patterns stamp set that we have on promotion. You can earn it for FREE too, just ask me for your hostess code and compile orders in September and October. You can combine both months too:) See the promotions details HERE.
Step 1
Stamp images on a piece of card stock.
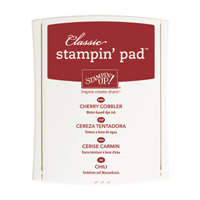
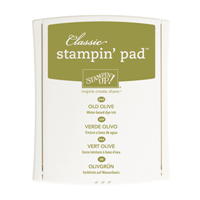
I used cherry cobbler and old olive ink with the hostess stamp set Merry Patterns.
Step 2
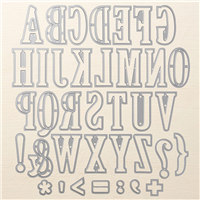
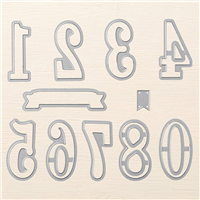
Chose a word and place the Large letters framelits #141712 on your piece of stamped card stock. Note you could do this technique with the large numbers framelits as well #140622. The trick is that your letters need to be big to have an amazing affect. The large letters in the annual catalogue are perfect for that.
Step 3
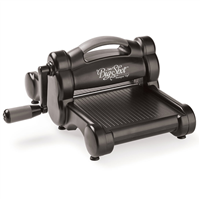
Pass your letters and card stock image in the big shot machine. Set aside the letters and adhere your card stock like the image below.
Step 4
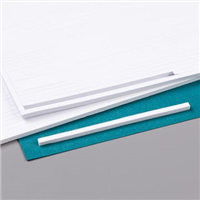
This is an important step! To have the best effect use the foam adhesive strips. Those are thicker and will provide height to your letters. If you use regular dimensionals, the letters won’t have as much of the eclipse effect.
Step 5
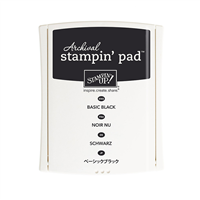
Adhere the foam adhesive letters to the card, where they were cut out. Shift them slightly to the right, just a “touch”. This creates that eclipse shadow. And voila! In my card below, I stamped the greeting “Merry Christmas” with the archival basic black ink.
I hope you enjoyed this new technique! Don’t forget to ask for your hostess code to earn this beautiful stamp set for FREE. And if you shop with me, I have a VIP customer perk, you get to accumulate points for FREE products!! Happy stamping!
More stamping ideas:
Click HERE for more Christmas ideas.
Below is a list of my current events and promotions, you don’t want to miss out!
A Seson of style promotion:
To give you more of what you love, during October and November we’re offering two straight months of perfectly coordinated Christmas cardmaking and gifting projects. You will have everything they need to complete unique holiday cards and gifts, you will have more creative options, and you can get that handmade holiday touch without the fuss.

Merry patterns host promotion:
Hosting a holiday catalog event is always fun—and we’ve just sweetened the deal with our exciting Merry Patterns Host Promotion. If you host a party with $375 CAD in sales by October 31, you’ll earn the FREE Merry Patterns Stamp Set.
Starter kit
If you have ever thought about Joining Stampin’Up!, now is the perfect time! For just $135, you will receive a starter kit, $165 worth of products or your choice! Check it out HERE
Hostess Code: E6YWHCZM
Shop for amazing Stampin’Up! Products online HERE,use the above hostess code, and receive a free gift from thankful me to wonderful you!
Clearance Rack
Don’t miss the clearance rack for up to 60% off fabulous Stampin’Up! Products!
My Events
Click HERE for my next event!




Kim, I love how you used the foam strips to create the look of layer after layer on your letters! Genius! Now I don't mind giving this technique a try. Thank you for sharing.