Stampin’ Up!’s Easter Joy Suite Collection Ideas
Hello My Crafty Friends, Bonjour!
Can you believe it’s almost spring? I cannot wait for all this snow to melt and more sunny days… Let’s talk spring projects today. If you’re anything like me, you love a collection that makes creating effortless — and the Easter Joy Suite Collection from Stampin’ Up! does exactly that.
Today I’m so excited to share my three projects for the February Artisan Design Team Blog Hop, all created with the beautiful Easter Joy Suite Collection. This suite is soft, sweet, and full of charm — but I also had so much fun stretching it beyond traditional Easter looks!
What’s Included in the Easter Joy Suite?
The Easter Joy Suite Collection coordinates beautifully and typically includes:
-
Easter Basket Stamp Set
-
Easter Basket Coordinating Dies
-
Easter Joy Designer Series Paper
-
Easter Assortment Embellishments
-
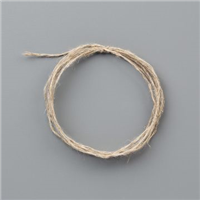
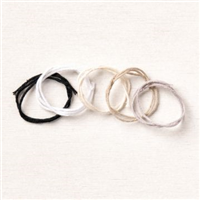
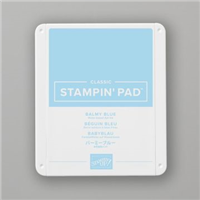
Balmy Blue 1/4″ Gingham Ribbon
- Pleasant Patterns 12″x 12″ Specialty Designer Series Paper
-
Coordinating cardstock colors
Everything works together seamlessly, making it easy to create cards, treat packaging, scrapbook pages, and more. The imagery is soft and classic — bunnies, florals, heartfelt sentiments — but it’s versatile enough to use well beyond Easter.
Color Combinations Used:
The collection is also available in French and called Joie De Pâques
Let me go into more details on my Easter Joy creations for today.
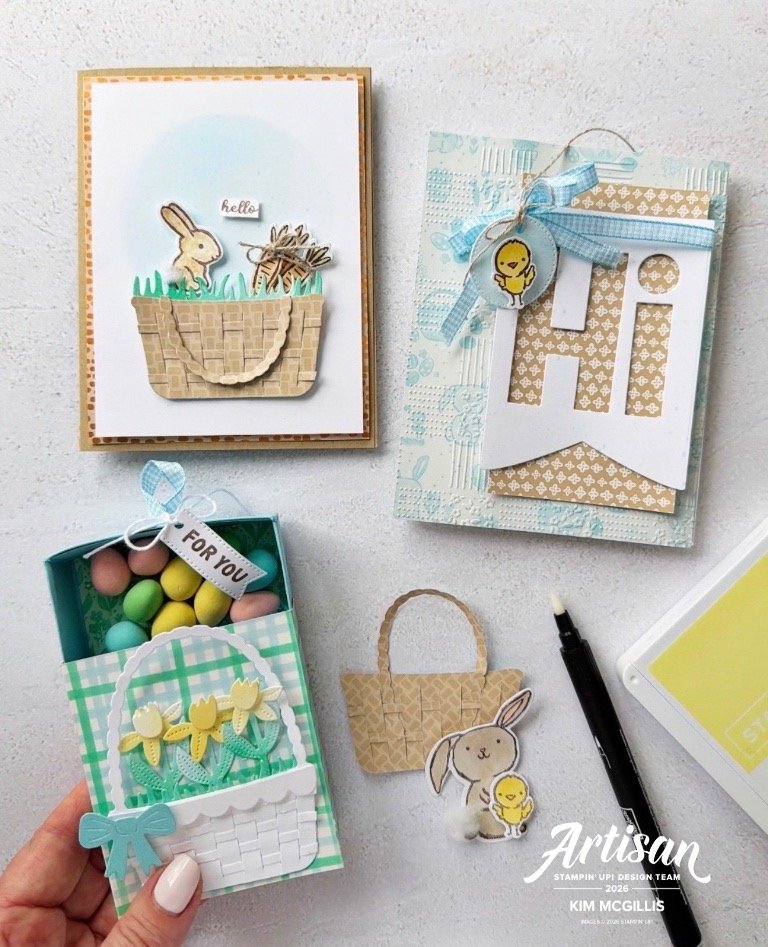
Project #1 – Mini Egg Treat Box (Because… Tradition )
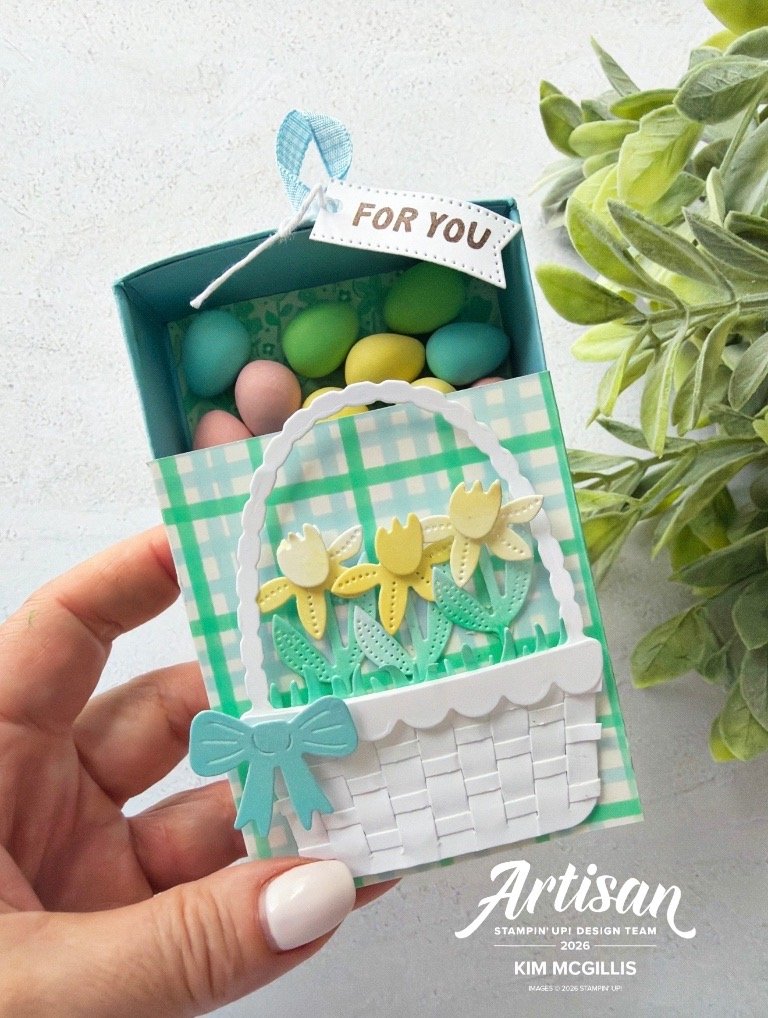
You all know my obsession with mini eggs and chocolates — especially Cadbury mini eggs. It’s a tradition in our home, and I had to create a project that celebrates that!
For this Artisan hop, I designed a mini treat box perfectly sized to hold mini eggs and chocolates. It’s sweet, simple, and makes the cutest little Easter gift.
I’m sharing all the measurements below so you can recreate it!
Mini Box Measurements:
- 7″ x 7 1/2″ Balmy Blue cardstock , score all four sides at 1” and 2″
- 3 1/2″ x 8 3/4″ Easter Joy Designer Series Paper, score on the long side at 1 3/4″, 2 7/8″, 5 7/8″ and 7″
- 2 7/8″x 3 3/8″ Easter Joy Designer Series Paper For the inside of the box
- Basic White Cardstock for die cutting with the Easter Basket Dies
To decorate the front, I used the coordinating dies from the Easter Joy Suite Collection to create the sweetest little basket detail — it layers beautifully and adds so much charm and dimension.
For the flowers, I used a soft watercolor technique with a blending brush and coordinating inks. I gently built up the colour in light layers to create a soft, springtime feel. I love how this technique gives that hand-painted look while still keeping everything controlled and polished.
It’s such a fun little project for teachers, neighbours, or place settings — and of course, filled with mini eggs, it’s basically irresistible!
I made a couple of cards with this suite but I am sharing two today.
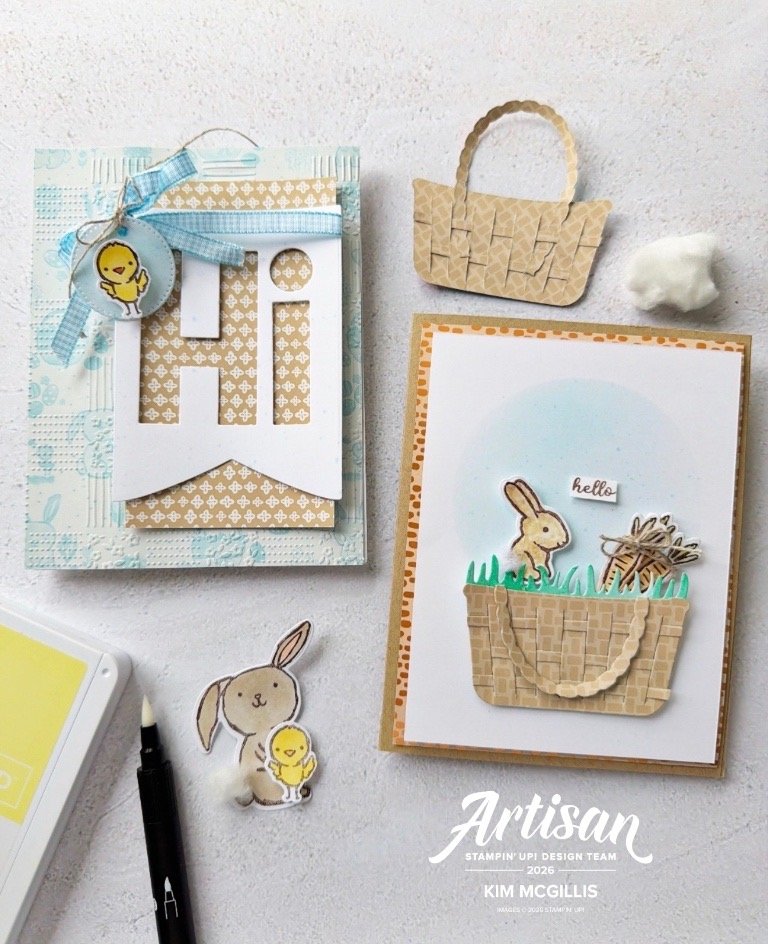
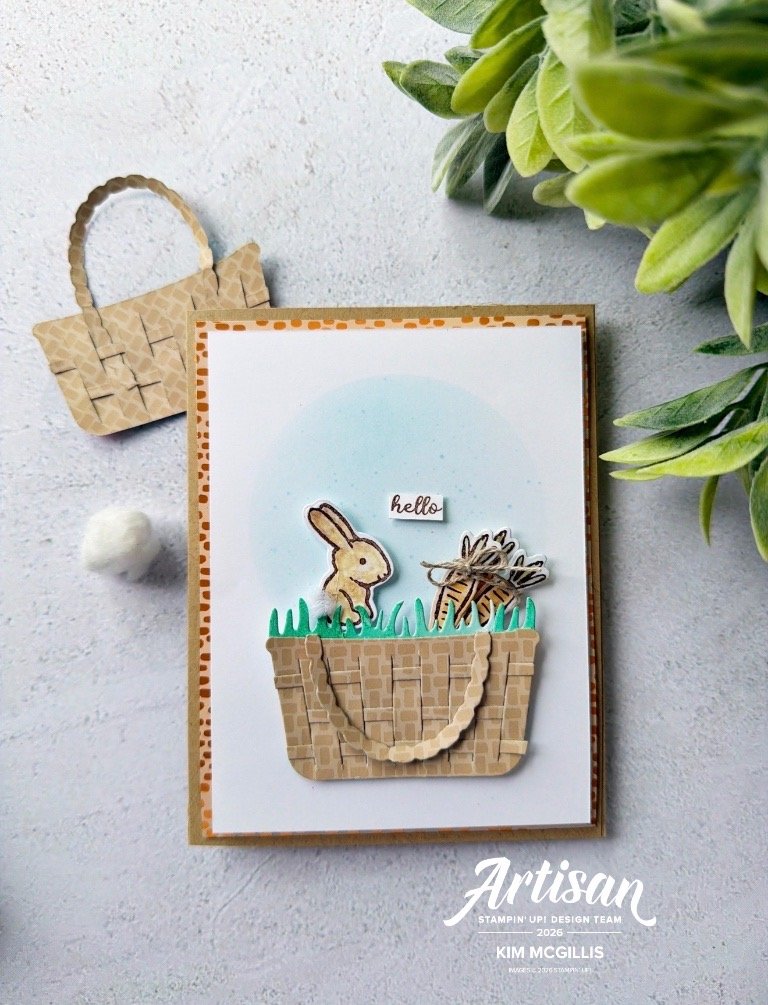
Project #2 – Sweet Bunny Card with Texture
This one might be my favourite!
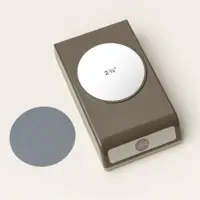
In my card layers, I used the coordinating Pleasant Patterns 12″x 12″ Specialty Designer Series Paper. For the background, I used one of our circle punches to create a soft focal point. I first punched out a circle. Then — don’t throw away the negative! I took the leftover negative piece from the punched circle and added some ink to it using Balmy Blue Classic Stampin’Ink. This created a soft layered look and allowed me to build dimension in a subtle but intentional way. I love stretching our tools like this! as a mask and blended ink around it to create that beautiful halo effect behind the bunny.
For the basket detail, I modified the coordinating dies from the Easter Joy Suite Collection. I carefully cut the handle portion of the die so that it could be tucked into the lace detail. This allows the basket handle to be movable, which adds such a fun interactive element to the card. It’s a small detail, but it makes the design feel extra special and thoughtfully constructed.
And of course, the bunny tails needed texture — I used small pieces of cotton balls to give them that soft, fluffy finish.
This card really showcases how you can take the suite and elevate it with a few creative tweaks and techniques.
Project #3 – Not Just for Easter
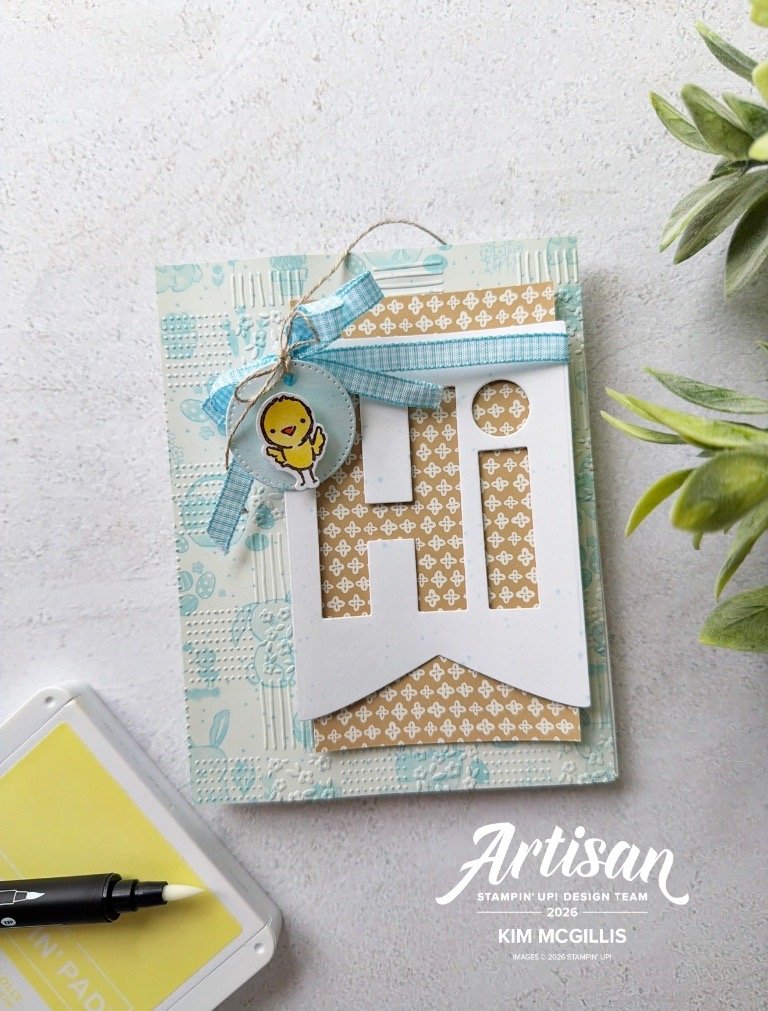
One of the things I love most about the Easter Joy Suite Collection from Stampin’ Up! is how easily it stretches beyond Easter.
For this project, I wanted to show how you can take the suite in a completely different direction.
I embossed the Designer Series Paper using the All-in-a-Row Embossing Folder, which adds such a beautiful linear texture and instantly elevates the background. Embossing patterned paper is one of my favourite ways to give it a fresh, custom look — it adds depth without overpowering the design.
For the sentiment, I created a playful banner featuring the word “hi.” I used the Party Alphabet Dies along with the Party Banner Dies to build the banner from scratch. I love how these dies allow you to customize any word or greeting, making the card feel personal and versatile. That’s where the sentiment comes from on this design — simple, cheerful, and perfect for any occasion.
By pairing the embossed Designer Series Paper with a custom die-cut banner, this project moves beautifully into everyday spring cards, birthdays, or just-because notes.
It’s such a great reminder that themed suites can go far beyond their original intention with just a few creative adjustments!
Why I Love the Easter Joy Suite Collection:
- Soft, timeless imagery
- Easy coordination
- Perfect for treat packaging
- Great for beginner and experienced crafters
- Versatile beyond Easter
It truly makes creating joyful projects effortless.
I hope today’s projects inspire you to create something sweet — whether it’s a mini egg box (highly recommended), a textured bunny card, or a spring-inspired design that carries you beyond the season.
Let me know which project was your favourite! And don’t forget to check out the rest of the Artisan Design Team Blog Hop for even more inspiration.
Products are available in my online store below. PS I am thinking of going live to show how to make these projects so you might see a video added here soon.
Happy stamping!
Kim xo