Coffee Break Gift Card

When I received Stampin’up!’s annual catalog, I fell in the love with the coffee break suite on p. 30-31. I’m a Starbucks lover! This collection reminds me of Starbucks and all the fun drinks they have. Then, when I saw an additional coordinating stamp set called Merry Cafe, I got even more excited! I decided to mesh the two together for a swap that I participated at Stampin’up!’s on stage in Salt Lake City in Utah. My sweet daughter Megan was amazing at assembling these babies with me. I am so very grateful she still loves stamping with me and I hope that she will join me on this journey as a demonstrator when she turns 18 in June. Stampinup!’s events are so much fun and I can’t think of a better person to attend these events with than her. And all my downline and friends of course:)

To create my project, I combined products from both catalogs (annual and holiday).
Here are the steps to make this cute card:
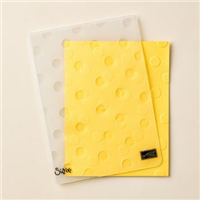
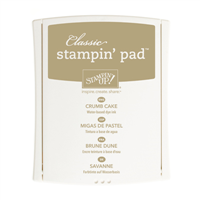
- Use the mini treat bag thinlits with crumb cake cardstock. This creates the outside pocket.
- Emboss the two pieces from the mini treat bag with the Polka dot basics embossing folder.
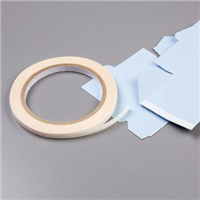
- Assemble the pocket with the tear & tape adhesive ( I love this tape, it’s so awesome. I love that I can just tear it with my fingers and not cause my scissors to be sticky…)
- For the insert, cut a 3.5 x 5 inch piece of whisper white cardstock.
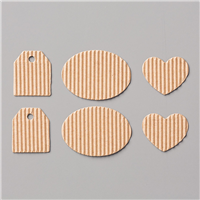
- Staple a little heart from the corrugated elements to the insert. This will be your pull out tab.
- You can decorate your insert as you wish. I stamped snowflakes from the Merry Cafe stamp set in crumb cake ink and added a greeting.
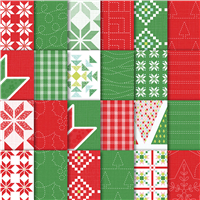
- Create a belly band: Cut a 2 x 6 piece of quilted Christmas DSP and wrap it around the mini treat bag.
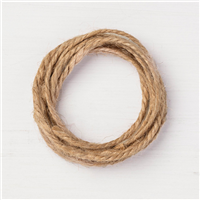
- Wrap a 12 inch piece of Jute twine around the belly band and make a bow.
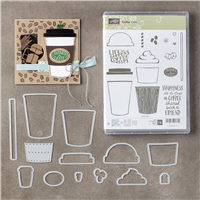
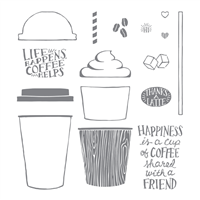
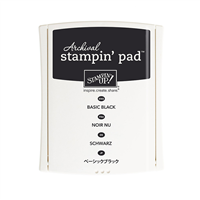
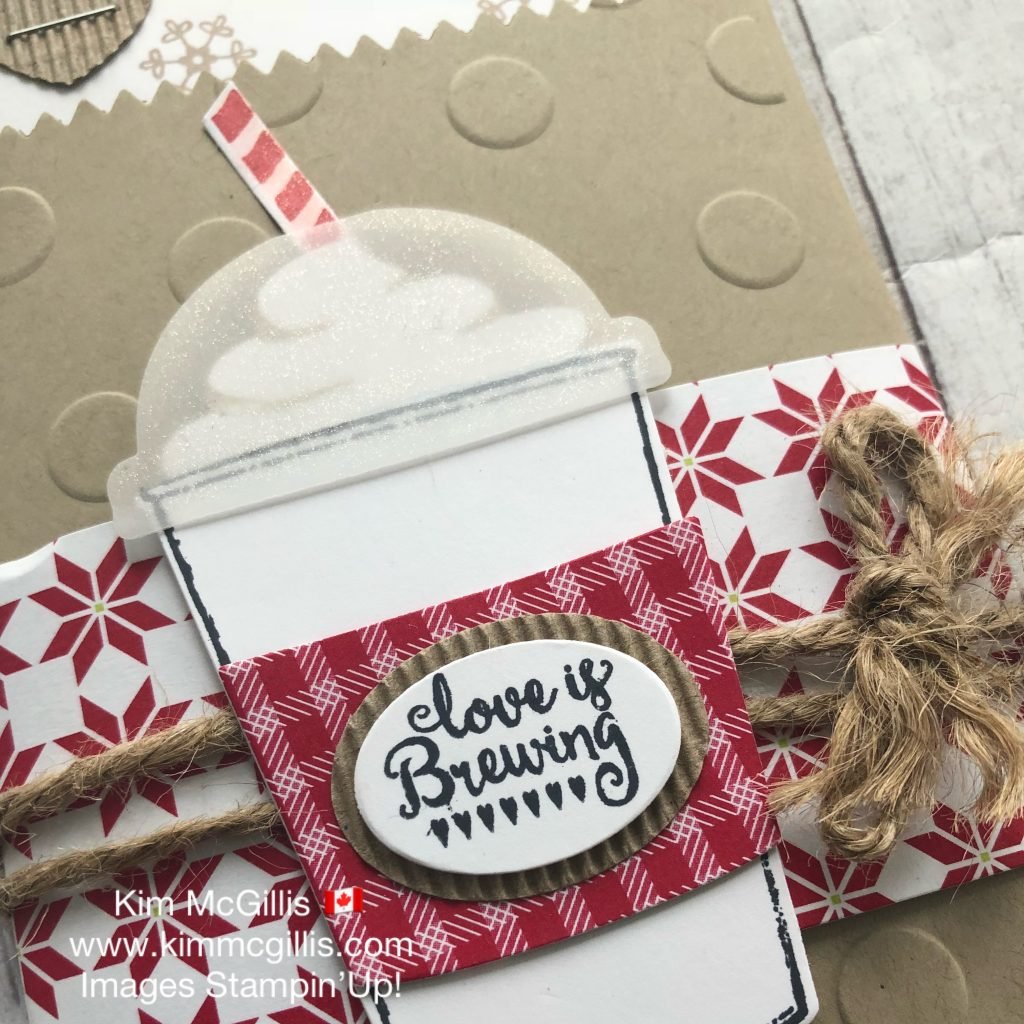
- For the coffee cup, stamp in archival black the large coffee cup image from the coffee cafe stamp set and use it’s coordinating coffee cups framelit die to cut the image.
- For the foam, stamp the image in crumb cake ink with the same stamp set and die.
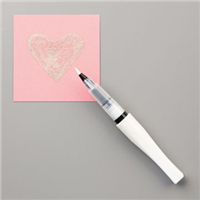
- For Megan’s favorite part, use vellum cardstock and use the coffee cups framelit to make the lid. Then, add wink of stella to make it glittery!:)
- For the coffee holder, use the same framelit collection with the Quilted Christmas DSP (I love this pattern)
- For the greeting, stamp the image from the Merry Cafe stamp set, use the oval framelit from the coffee cup framelits collection and mount in on a oval corrugated element.
- Don’t forget to make the straw from the coffee cafe stamp set and coordinating dies.
And voila, your project is done!
Quick tip:
To make glittery vellum cardstock for the holidays on all your projects, add wink of stella on the vellum. (see image above)

PS I know this image is darker, I took it from my hotel room in salt lake… But I thought you would enjoy seeing the different cards with the Quilted Christmas 6×6 designer series paper 🙂
If you ordered online from me in November, you might have already received this card. I’m giving all my November customers this beautiful card. You still have a couple of days left to receive this cutie from me with an extra personal note inside 🙂 When placing an order in November, don’t forget to use my hostess code 76U6BSTK to earn your Kimmie points for free products. Also, if you choose to order the coffee cafe bundle to save 10%, I added the code below.
Hugs, Kim xo