DIY Ruched Ribbon with Designer Series Paper or Two-Tone Cardstock
Hello My Crafty Friend, Bonjour!
DIY Ruched Ribbon with Paper – Easy & Stunning!
Have you ever been in the middle of a project and realized you don’t have the perfect ribbon to match? It happens more often than we’d like—but the good news is, you can create your own custom ribbon in just minutes using supplies you already have on hand!
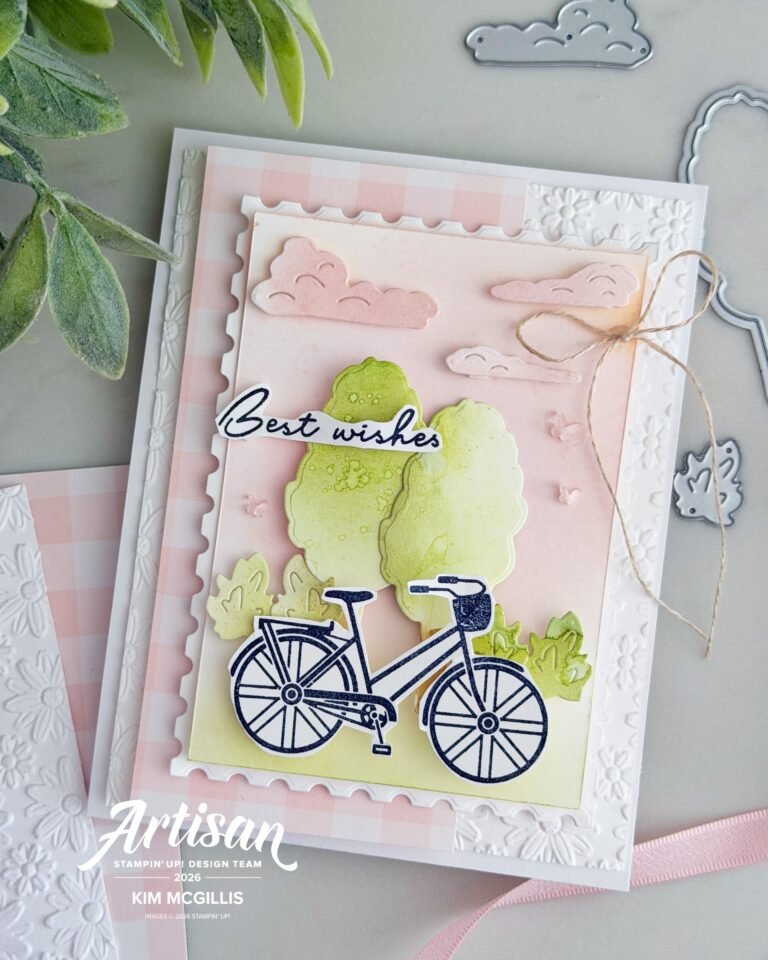
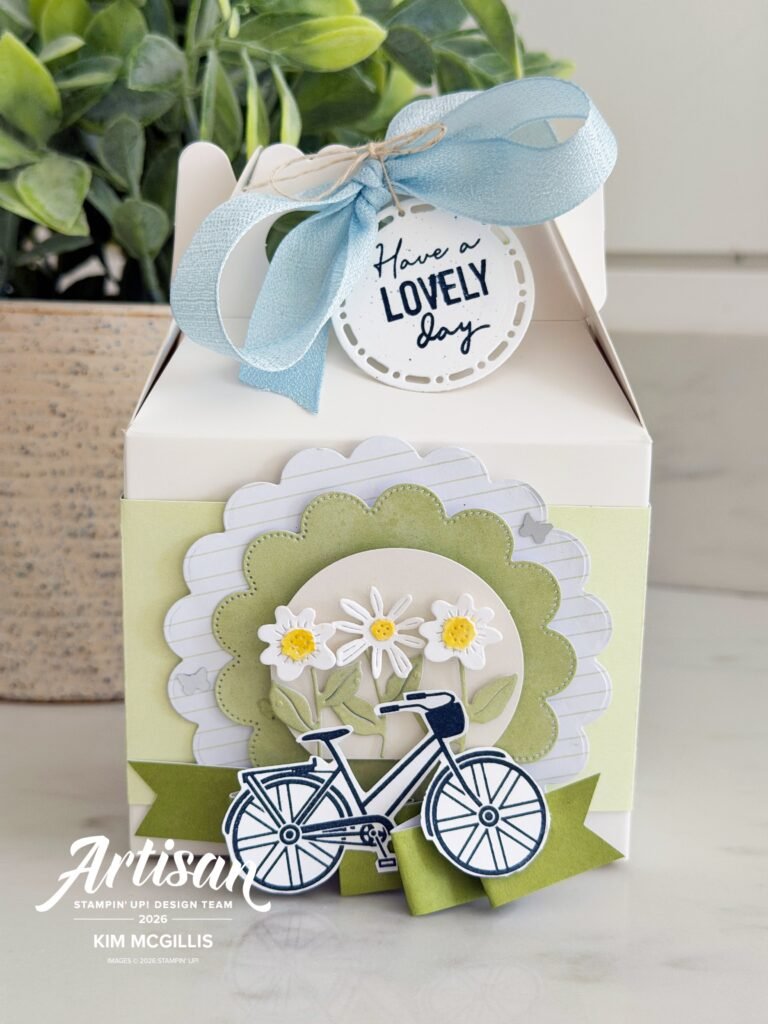
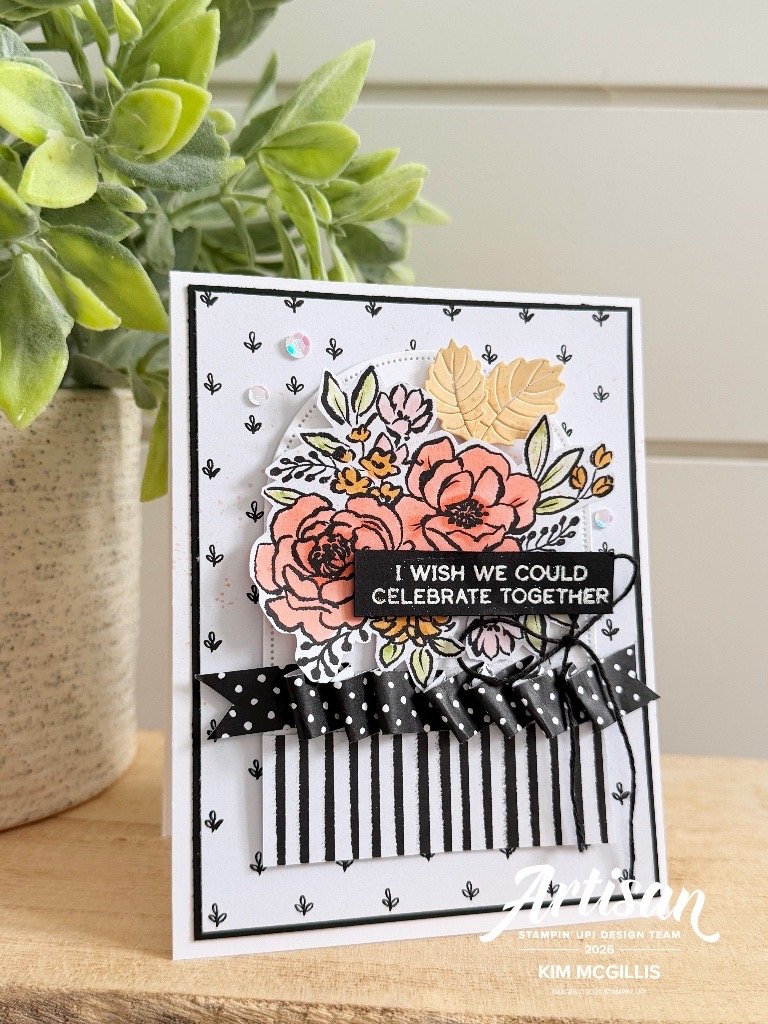
Today I’m sharing one of my favorite quick techniques: DIY ruched ribbon made from designer series paper or two-tone cardstock. It’s simple, budget-friendly, and adds the most beautiful texture to your handmade creations.
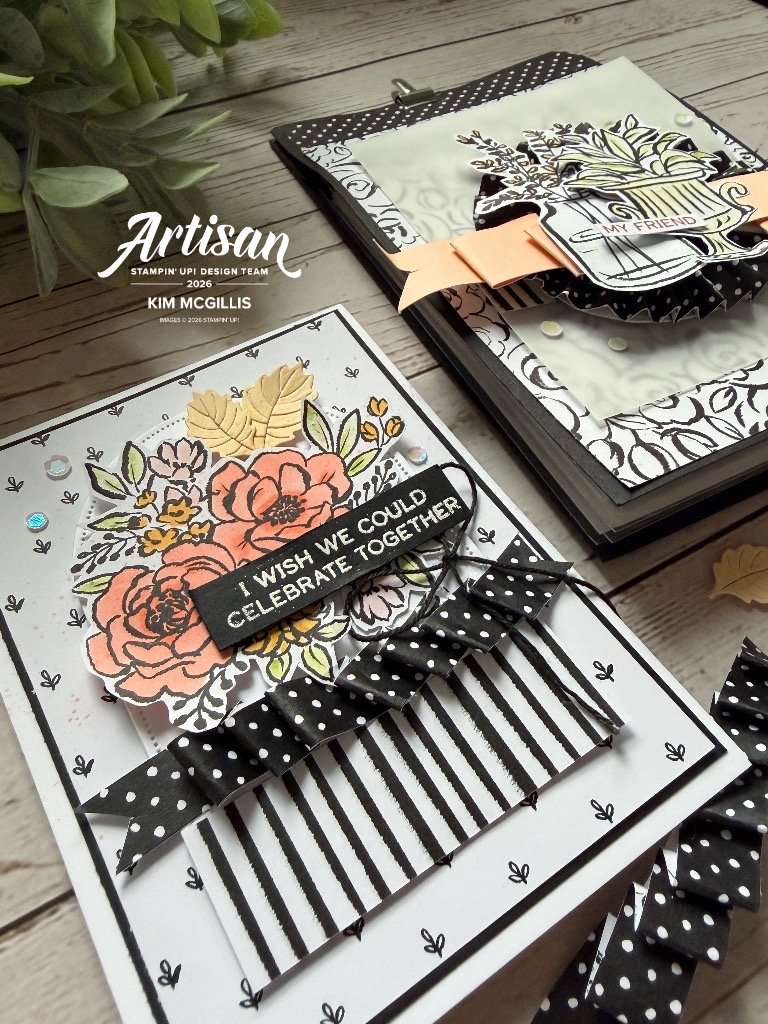
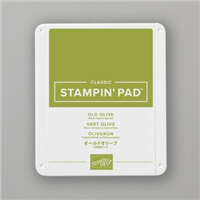
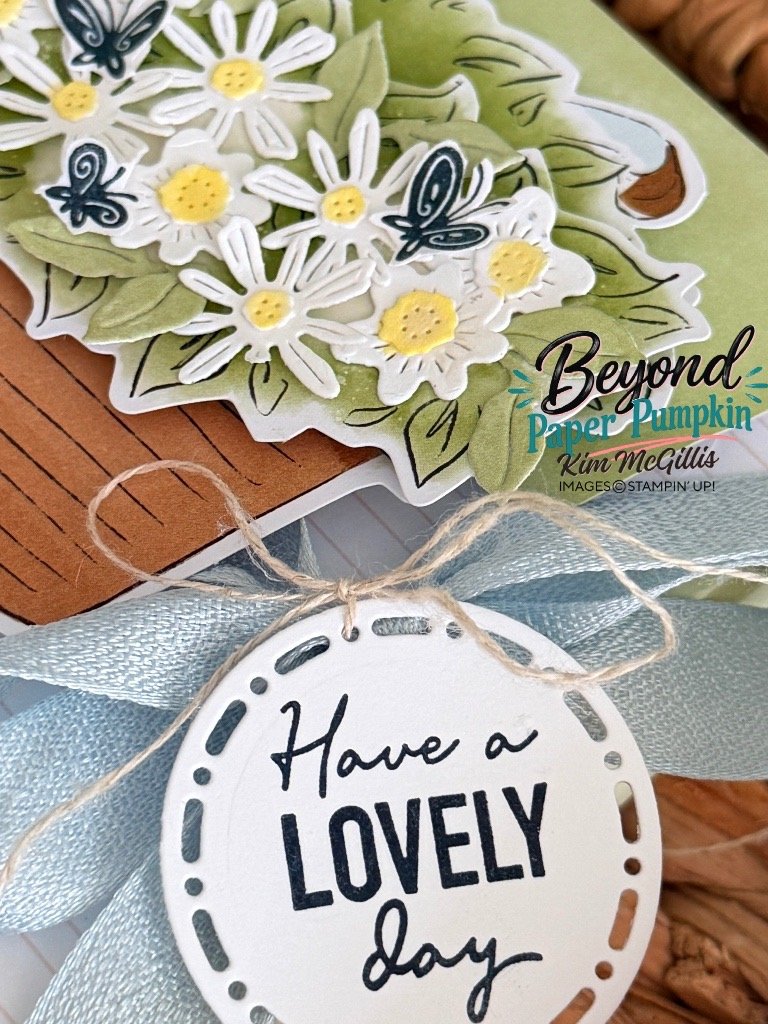
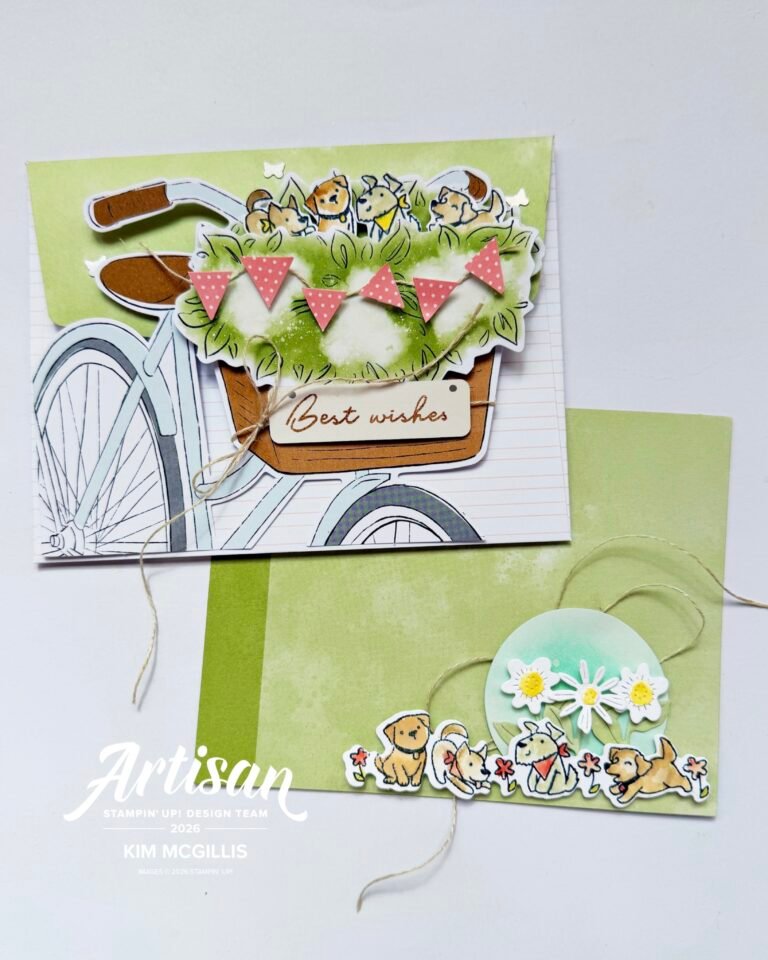
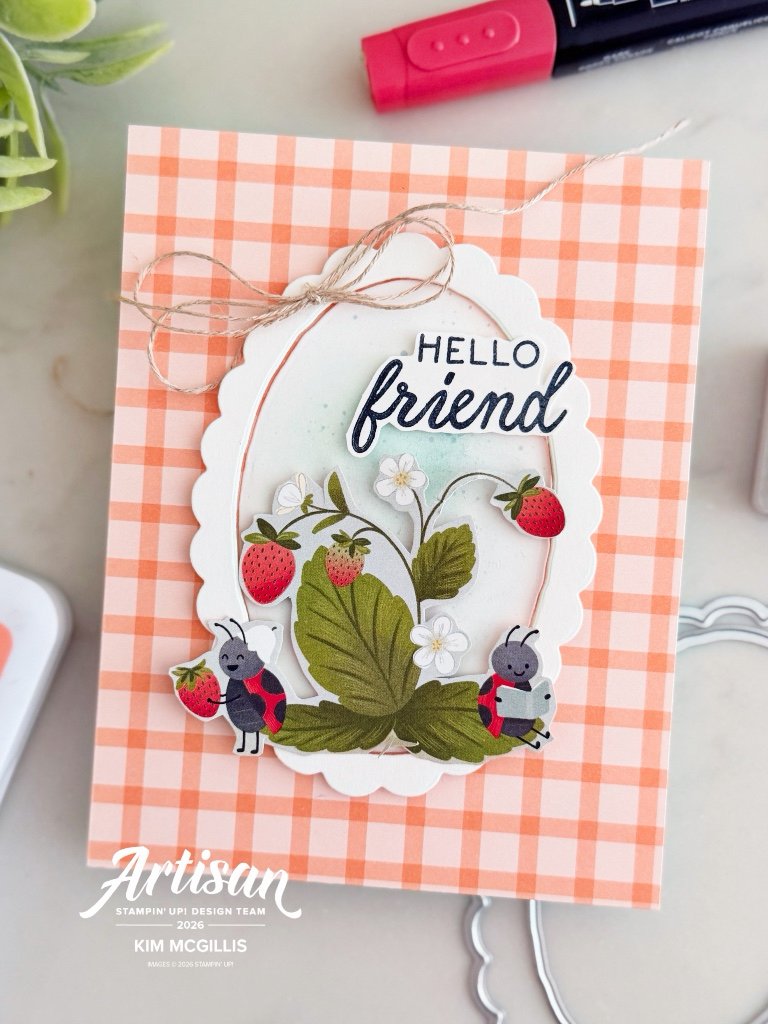
For this project, I used some of the new 2026–2028 In Colors, and they work beautifully for creating soft, eye-catching ruched effects! I also used the Artisan Sketch Garden Designer Series Paper and the Words and Wishes Bundle that will be available in May to customers and that is available to demonstrators with the preorder now.
Why You’ll Love This Technique
Creating your own ruched ribbon isn’t just a great workaround—it’s actually a design upgrade. You get:
- A perfect color match every time
- A unique, handmade look
- Added dimension and movement on your projects
Plus, it’s a fantastic way to use up scraps of your favorite papers!
What You’ll Need
- Designer series paper or two-tone cardstock
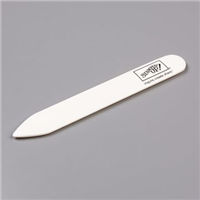
- Bone folder
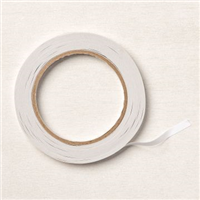
- Tear & Tape (or strong adhesive)
- Your project base (card, scrapbook page, etc.)
Step-by-Step Instructions
1. Break the fibers : Start by running your bone folder along the paper strip. This softens the fibers, making the paper more flexible and easier to shape.
2. Add adhesive: Apply Tear & Tape along the area where you want your ribbon to sit. This will hold your ruching in place.
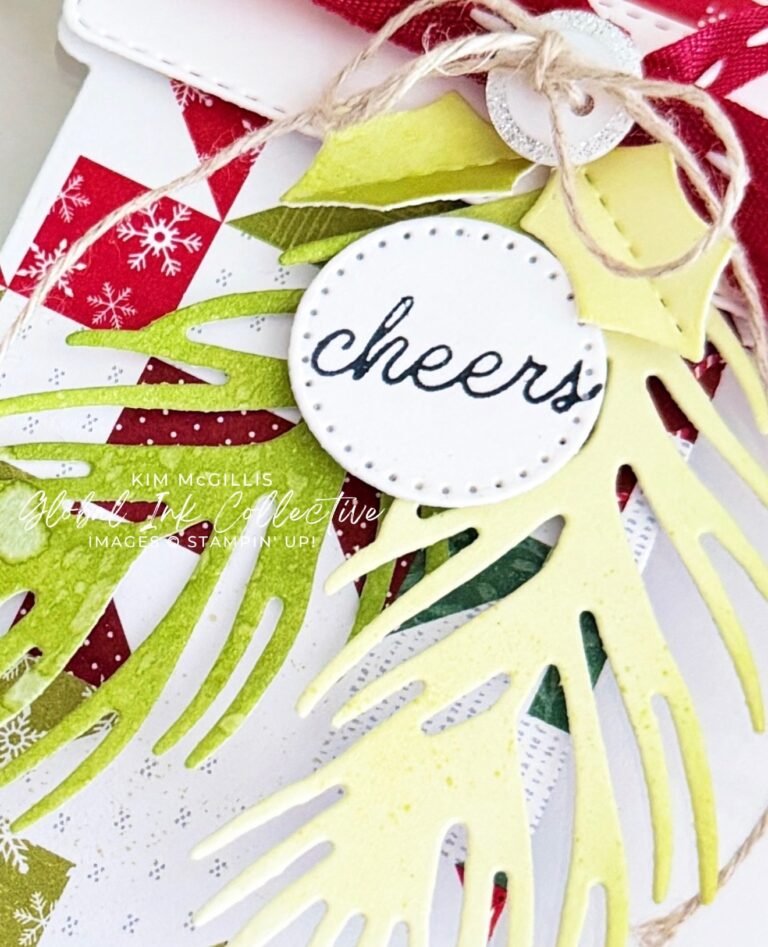
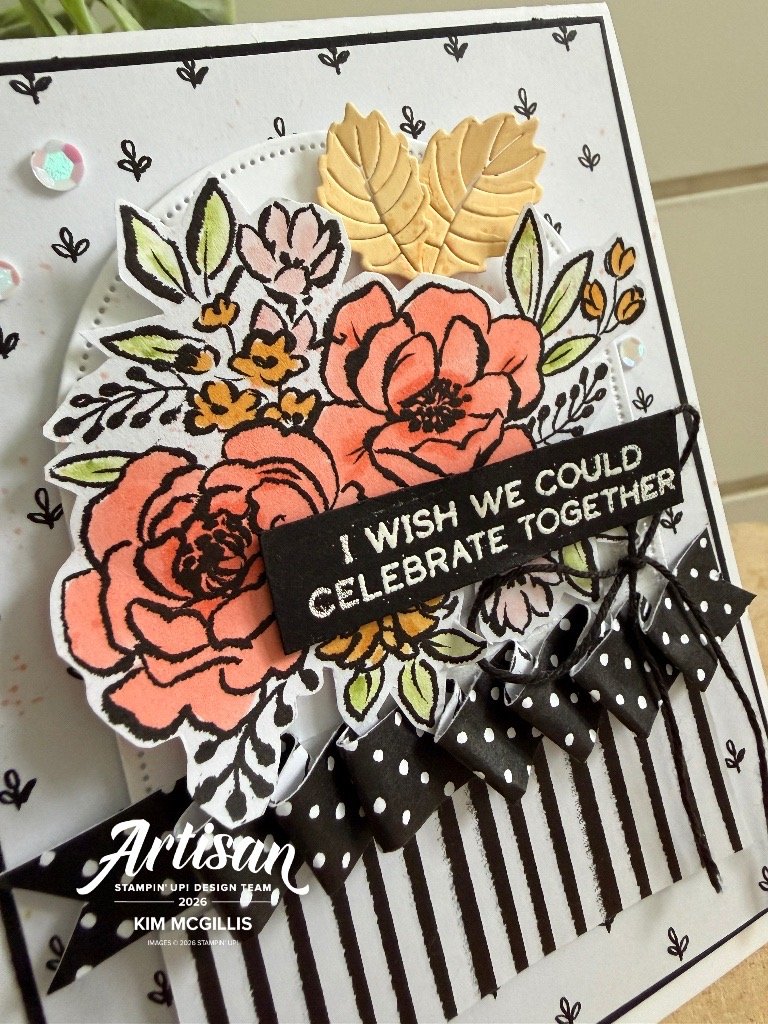
3. Create the ruched effect: Gently gather and scrunch the paper as you press it into the adhesive. Work slowly to create soft, even waves.
This technique adds such a beautiful, soft texture to your projects. Whether you’re making cards, gift packaging, or scrapbook layouts, it instantly elevates your design with a handcrafted touch.
Want to See It in Action?
If you’re more of a visual learner, you can catch my Facebook Live in replay where I walk you through this technique step-by-step and share extra tips along the way!
Pro Tips:
- Try this with two-tone cardstock for a subtle color variation when gathered
- Use patterned paper for a bold, eye-catching ribbon effect
- Keep your gathers loose for a soft look, or tighter for more drama
I absolutely love how versatile and easy this technique is—it’s one of those little tricks that makes a big impact!
Save this idea for later and give it a try on your next project!
Let me know if you try it—I’d love to see what you create!
I will add the products that I used in May once the new catalogue goes live or you can buy the starter kit and shop these items now. Get your starter kit HERE.
Happy Crafting,
Kim
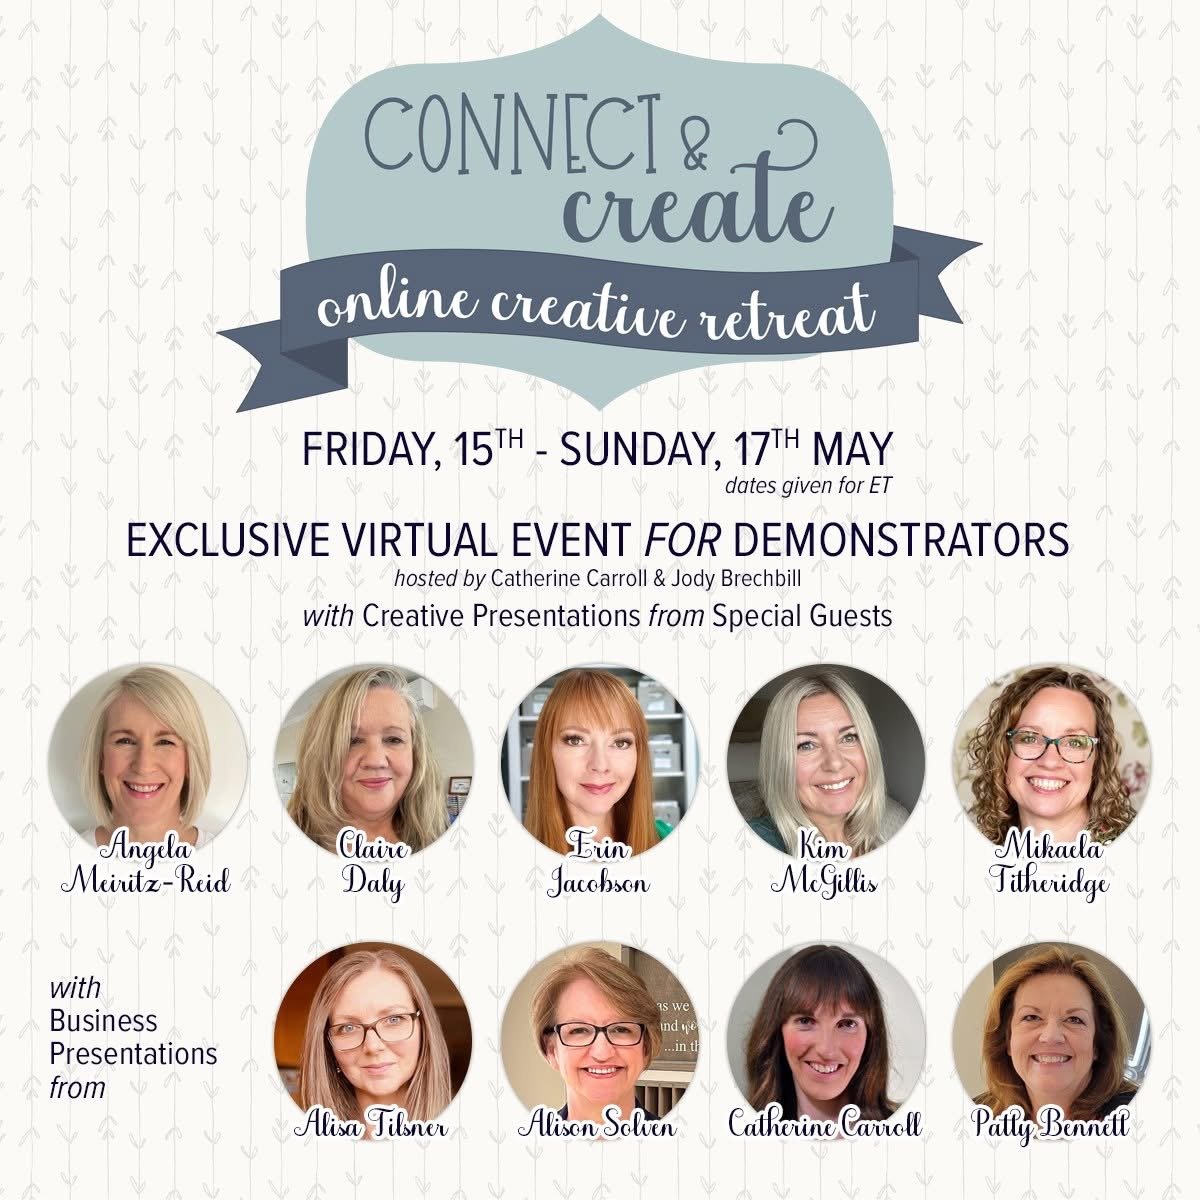
Connect & Create is now open for registration HERE.
Products used in my online store are listed below: