DIY Paper Rosette with Two-Toned Cardstock | Easy Handmade Craft Idea
Hello Crafters, Bonjour!
Today I wanted to share a super easy and fun way to create a DIY paper rosette using two-toned cardstock.
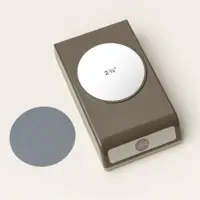
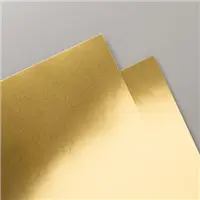
This technique is one of my favorites because it adds beautiful dimension and interest to any project. The best part? You only need two-toned cardstock and a circular punch—easy peasy! Whether you’re into cardmaking, scrapbooking, or paper décor, this is a simple technique that delivers stunning results every time.
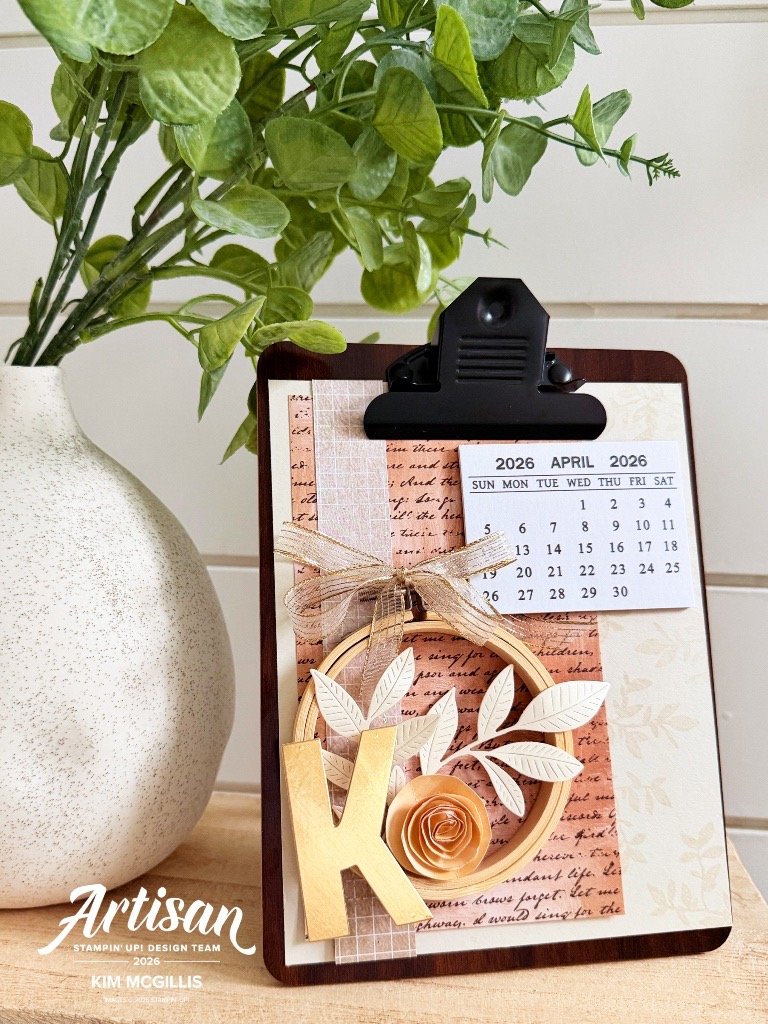
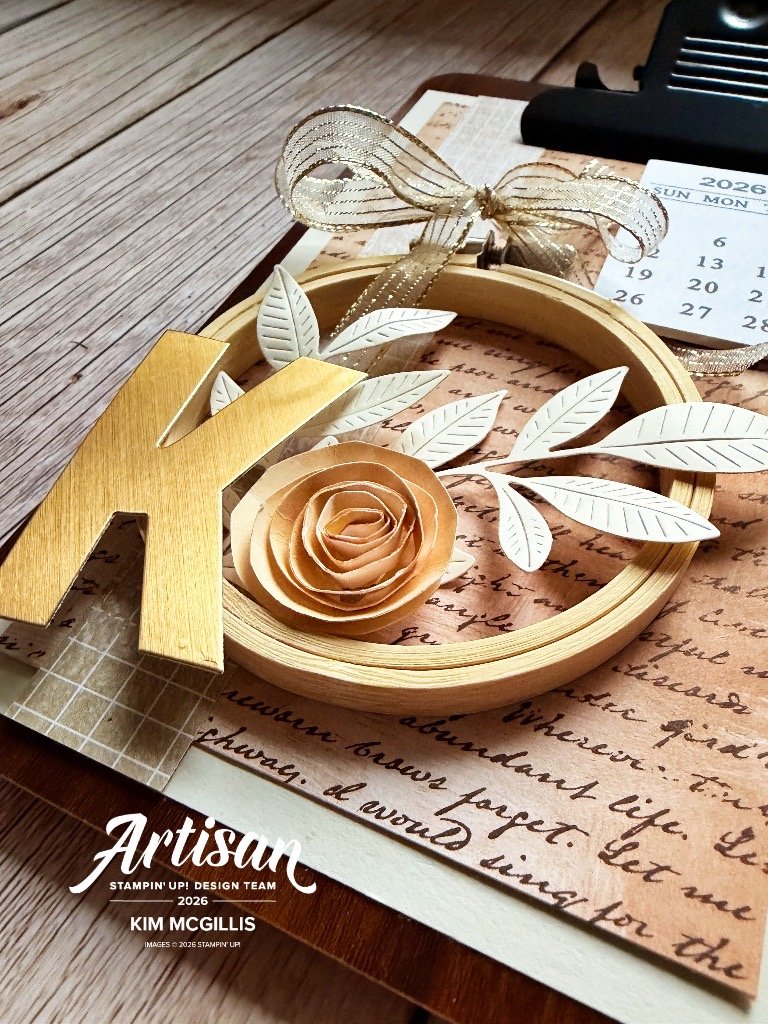
For this project, I also incorporated the Standing Clipboard Trio Kit to create a cute and personalized desk calendar. It’s such a fun way to turn a simple paper rosette into something both decorative and functional—perfect for your craft space, office desk, or as a thoughtful handmade gift idea.
Products You’ll Need:
- Circular punch
- Two-tone cardstock
- Standing Clipboard Trio Kit
- Designer Series Paper
- A bundle of your choice
Step-by-Step Instructions
1.Start by punching out your two-tone cardstock using a circular punch.
2.Take your punched circle and cut it in a continuous spiral motion, working your way from the outside toward the center.
3.Once your spiral is cut, begin rolling it inward, starting from the outer edge of the spiral.
4.Continue rolling until you reach the center base, then slightly loosen the roll to create the rosette shape.
5.Secure the base using an adhesive such as a mini glue dot.
6.Gently press (or “crunch”) the top of your rosette using the punch or your fingers to give it more texture and dimension.
7.Add your finished rosette to any project—cards, scrapbook pages, or your personalized desk calendar!
If you’d like to see exactly how it all comes together, be sure to check out my full step-by-step live.
Watch now on YouTube or catch the replay on my Facebook Live for all the details!
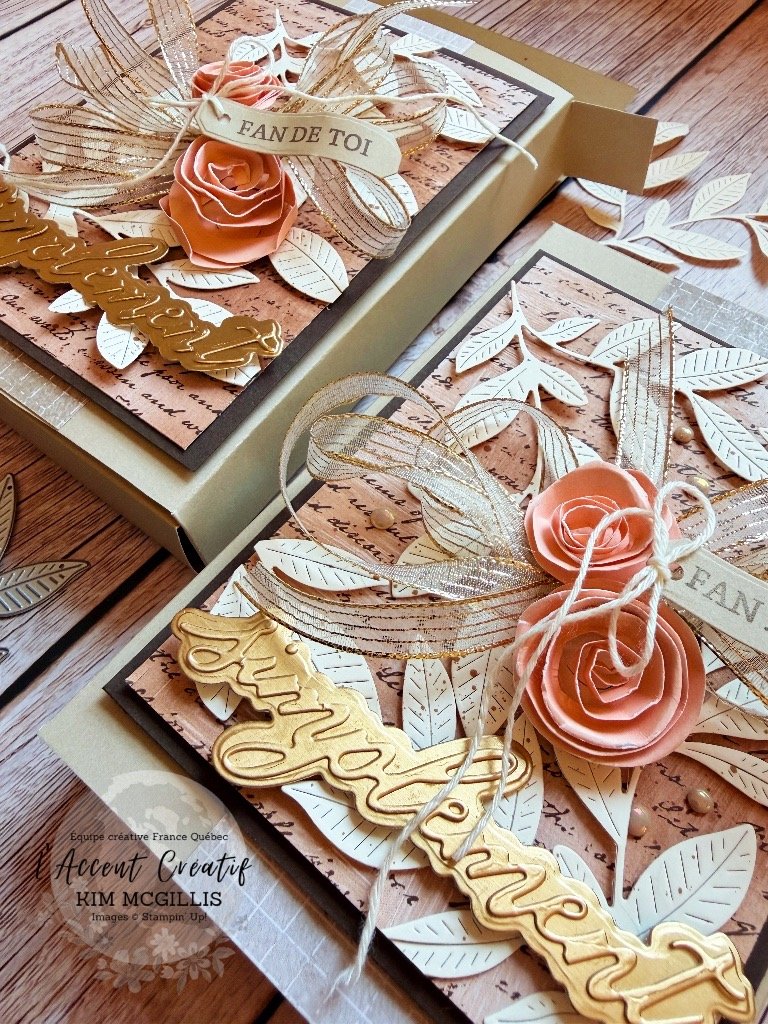
If you give this project a try, I’d love to see what you create! Feel free to share your version in the comments or tag me on social media so I can cheer you on!
More Paper rosette ideas HERE.
Happy crafting!
Kim
Products used is listed in my store below.
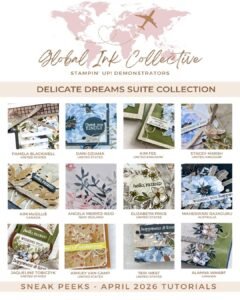
Free tutorial for April featuring the Delicate Dreams Suite Collection, see details HERE.