Branched Out Messages For The Holidays
Hello My Crafty Friends, Bonjour!
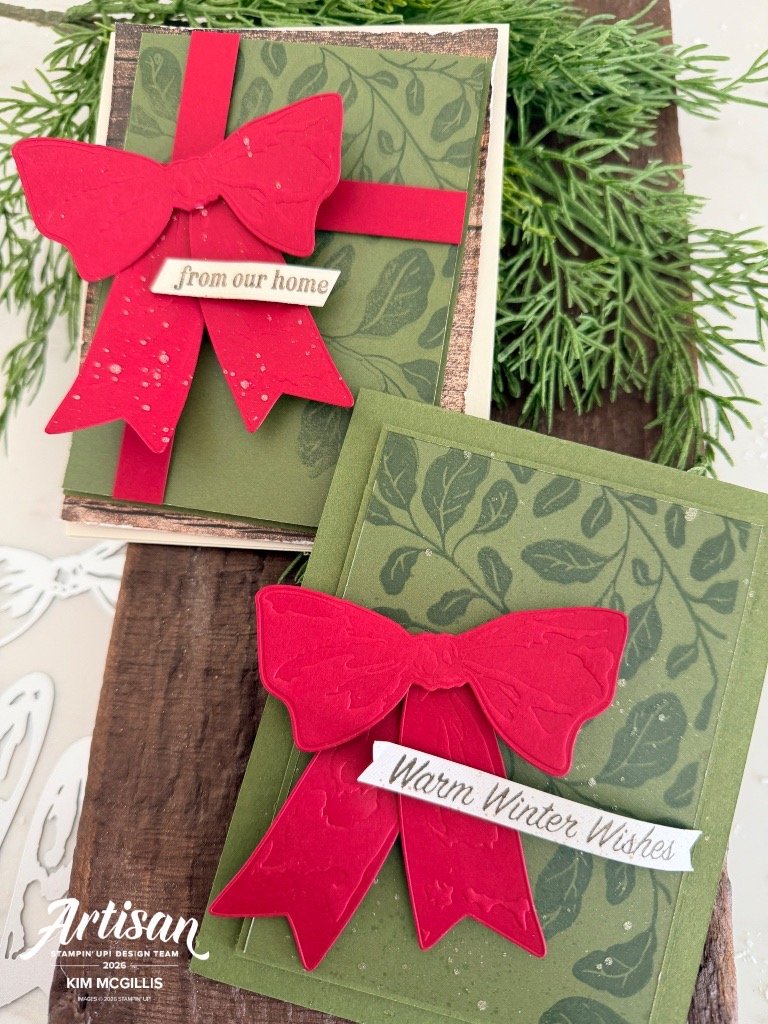
Who says a simple stamp set can’t create a beautiful holiday card?
I decided to take the Branched Out Messages stamp set, Stampin’ Up!’s November Product of the Month, and give it a festive holiday twist!
I love how versatile this stamp set is, and with a little creativity, it can easily become part of your Christmas cardmaking.
The stamp set is also available in French and called Messages Branchés
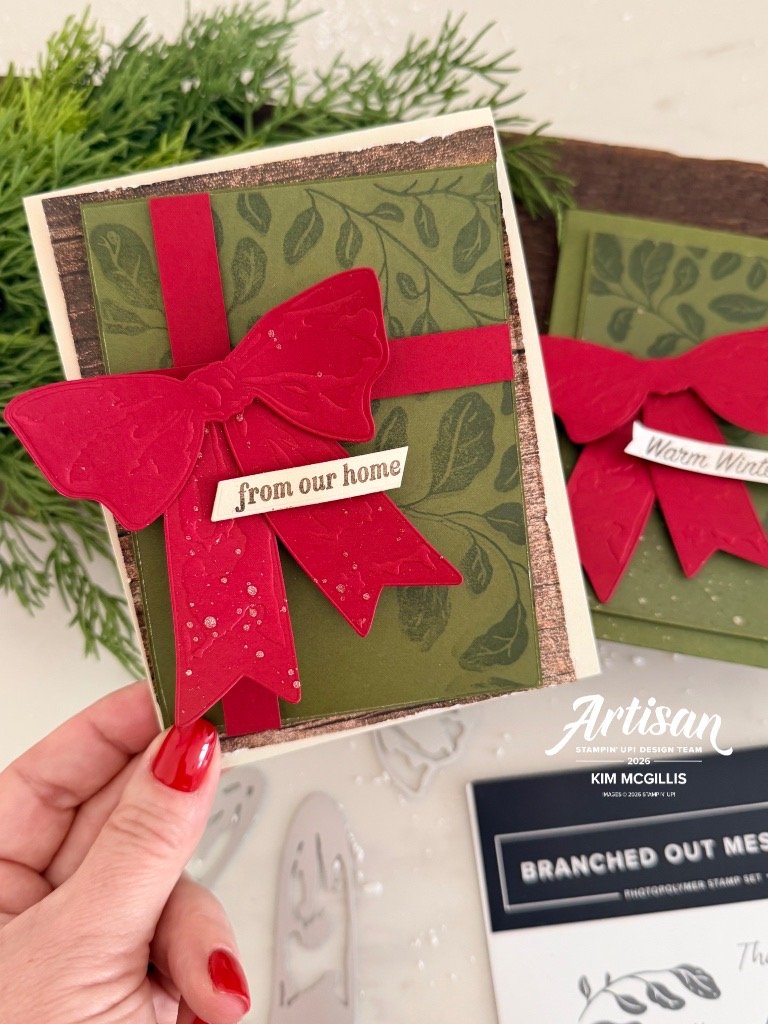
To add that extra special touch, I reached for the Elegantly Wrapped Dies and created a gorgeous Cherry Cobbler bow. That little detail makes such a difference and adds just the right amount of holiday elegance to the design.
The best part? You don’t need a lot of layers or complicated techniques to create something beautiful. Sometimes it’s the simplest cards that make the biggest impression!
Colors Used:
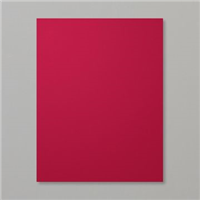
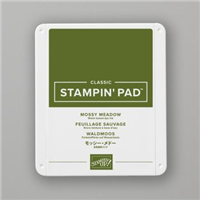
These three Stampin’ Up! colors are a staple for the holiday season. They are part of my favorite color combo.
A little Product of the Month reminder!
For November, you can add the Branched Out Messages stamp set to your collection for just $5 USD or $7 CAD with a qualifying order of $75 USD/$100CAD (before shipping and taxes).
It’s a wonderful opportunity to add a versatile stamp set to your craft room while creating something beautiful!
Simple card, beautiful details, and so much WOW! ❤️
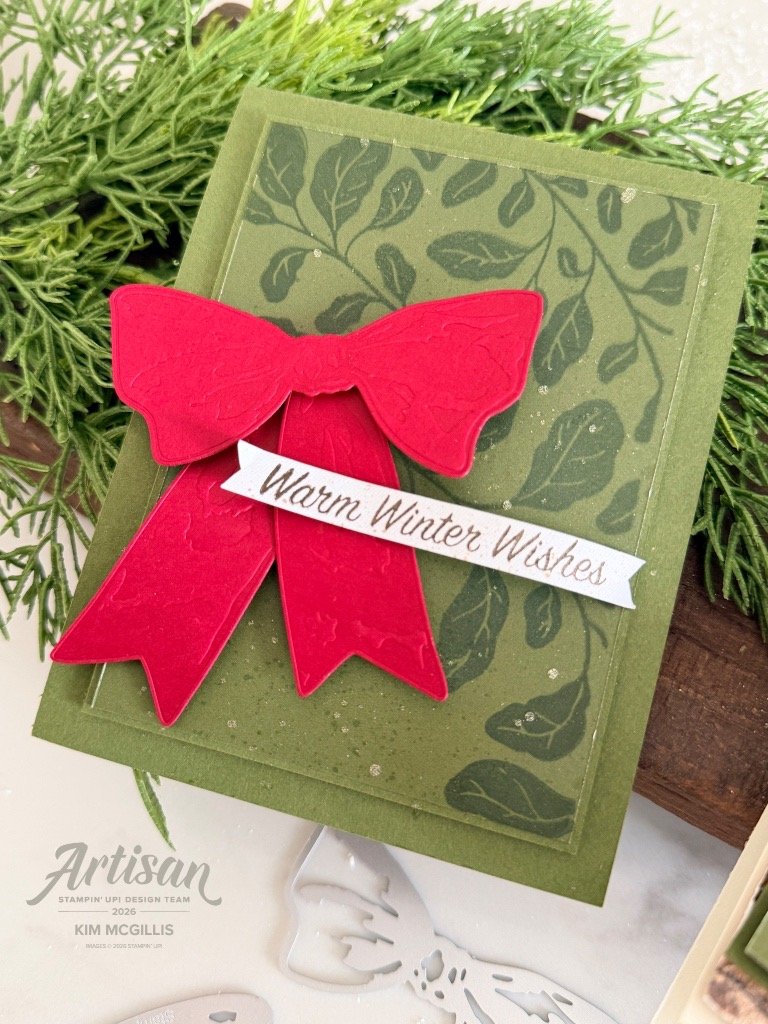
Measurements:
- Mossy Meadow Cardstock 4½” × 11”. Score at 5½”.
- Mossy Meadow Cardstock to 3 ⅝” × 4 ⅞”.
- Mossy Meadow Two-Tone Cardstock to 3 ½” × 4 ¾”
- DSP ⅜” x 3”
- Cherry Cobbler Cardstock for die-cutting 4″ x 4″
Instructions for the simple card:
- Cut Mossy Meadow Cardstock to 4½” × 11”. Score at 5½” to create the card base.
- Cut a piece of Mossy Meadow Cardstock to 3 ⅝” × 4 ⅞” and adhere it to the card base.
- Cut a piece of Mossy Meadow Two-Tone Cardstock to 3 ½” × 4 ¾”. Stamp the large image from the Branched Out Messages Stamp Set using Mossy Meadow Ink.
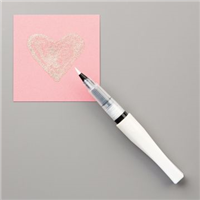
- Add on splatters to the stamped cardstock using the Wink Of Stella Glitter Brush.
- Die Cut a large bow from Cherry Cobbler Cardstock using the Elegantly Wrapped Dies.
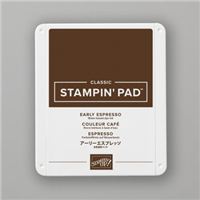
- Stamp the sentiment from the Winter Adventures Stamp Set onto a piece of ⅜” x 3” strip of Alpine Winter DSP using Early Espresso Ink.
- Use Detail Scissors to cut fishtail notches at both ends of the sentiment strip.
- Assemble the card as shown in the photo.
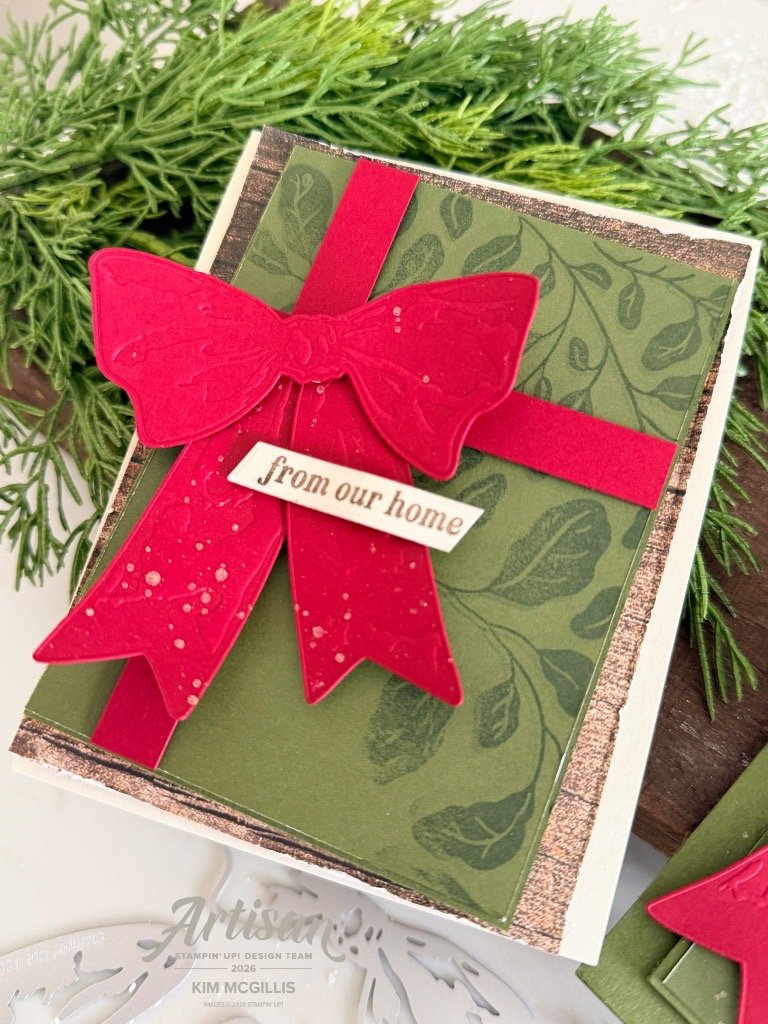
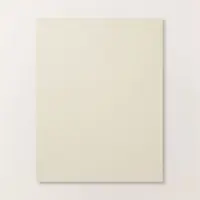
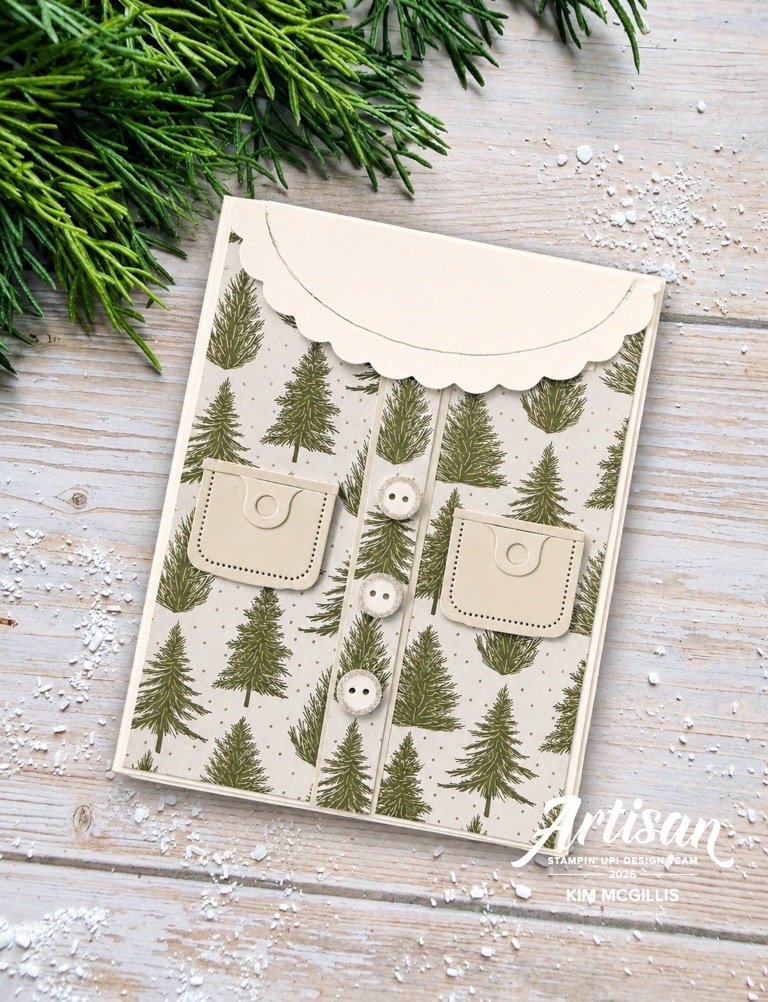
For the second card I added a Basic Beige Card Base and also added some Country Woods Designer Series Paper. The sentiments come from the Neutral Noel Suite Collection, more specifically the Noel Tidings Bundle.
Easy Technique: My favorite part was adding on splatters to the stamped cardstock using the Wink Of Stella Glitter Brush. Also the positioner was easy to use to create a secondary shadow of the stamped image.
Since the Branched Out Messages has a huge stamp, I recommend that you use the Stampin’ Positioner.
Benefits of using the Stampin’ Positioner:
- Get crisp, clean stamped images every time with the Stampin’ Positioner.
- This easy-to-use stamping platform helps you stamp with precise alignment and even pressure every time.
- Grid marks on the plates keep your stamps straight while the rubber corners apply uniform pressure for optimal ink coverage.
- And it’s so easy—just hold the paper in place with the magnets, place and ink the stamp, then press down.
- The Stampin’ Positioner also makes it easy to create multiples of projects, stamp Two-Step stamping images, re-stamp light or uneven images, and build repeating patterns.
Full list of products used is listed below in my online store.
Shop these products in my Stampin’ Up! Online Store. With a $65 qualified order, I will gift you a new tutorial with 12 ideas featuring the New Country Cottage Suite.
Happy Stamping!
Kim